Sunday, February 26, 2012

A Twist- Mint Oreo Truffles

I have to thank my friend Shae for coming up with this recipe. As a college student, there are not a lot of things one can afford to make when craving a homemade sweet. However, last year Shae decided to take a twist on the classically easy Oreo truffle-- using mint Oreos instead of regular. I have to say, the results were pretty phenomenal and I would make these all the time if I didn't think I'd have to be rolled to class every day.
After Christmas, I had a little bit of money on hand so I decided to get myself a gift. Partially because I really wanted it, and partially because I knew it was time for Oreo truffles. So I bought a food processor.
Isn't she beautiful? I've nicknamed her Matilda. I think my boyfriend was a bit disconcerted that I had chosen a pink food processor as he immediately connected what this would implicate for the rest of the kitchen appliances I may buy in my lifetime. Oh well, I think he'll get over it. I must say, this processor works like a charm. It may be small, but it gets the job done in no time.


What you need for mint Oreo truffles:
1 package mint Oreos
1 (8 oz) package of cream cheese, softened
1 (16 oz) bag semi-sweet chocolate chips
2 tablespoons shortening
1/2 (2 oz) Ghirardelli white chocolate baking bar

Crush up your Oreos. Don't crush them too fine or else the truffles will be too soft. You'll want the Oreos to still be a little chunky.
Using an electric mixer, combine the cream cheese and crushed Oreos until thoroughly incorporated. Place mixture, covered, in the freezer and chill for at least two hours.
Working quickly, roll the chilled mixture into one inch balls. Place in the refrigerator or freezer while preparing chocolate. Next, melt the chocolate chips and shortening in a double boiler over medium heat.
Using tongs or a toothpick, dip the balls in the chocolate until completely covered A warning-- as the truffles warm, they have a tendency to fall apart. Try to keep them in the fridge up until the very last second before it is time to dip them. Let the truffles cool and harden on wax paper.
Once the truffles have cooled, it is time to drizzle them with white chocolate. Melt the white chocolate in the microwave and pour into a ziploc bag. Snip the corner of the bag and then drizzle the truffles. Refrigerate truffles until ready to serve.

These truffles are far too delicious! They're incredibly rich so don't try to overstuff yourself. However, the mint in these added a really delicate flavor overall.
If you are ever trying to express your sweetheart, this is definitely a recipe to try. It's incredibly simple, pretty inexpensive to make, and completely delicious.

Good luck and happy baking!
Rosie

Source: The beautiful Shae

Sunday, February 19, 2012

Martha Stewart's Chocolate-Pistachio Biscotti

I've never been a huge biscotti fan. I have only ever had that prepackaged kind you get from Starbucks and honestly, I just thought it tasted like cardboard. However, my dad bought me the Martha Stewart Cookies cookbook for Christmas and it has several different biscotti recipes so I decided to give biscotti a second chance.

Boy, am I glad that I did. This biscotti is like no biscotti I've ever tried. It's nice and crisp around the edges, but the center is still a bit soft and gooey. It's like a cookie and a brownie got together and had a baby. It's delicious.
What you need:

6 tablespoons unsalted butter
2 cups all purpose flour
1/2 cup unsweetened cocoa powder
1 teaspoon baking soda
1/4 teaspoon salt
1 cup sugar
2 large eggs
1 cup shelled pistachios, unsalted and not roasted
1/2 cup chocolate chips

Preheat your oven to 350 degrees. Line a baking sheet with parchment paper. In a medium bowl, whisk together flour, cocoa powder, baking soda, and salt.
 In a large bowl, cream butter and sugar until light and fluffy. Add eggs; beat until well combined, scraping down sides of bowl as necessary.
Add flour mixture and stir to form a stiff dough. Stir in pistachios and chocolate chips.
Transfer dough to prepared baking sheet. Form into slightly flattened log, about 12 by 4 inches. Bake until slightly firm, about 25 minutes. Cool about 5 minutes. Reduce oven to 300.
On a cutting board, using a sharp serrated knife, cut biscotti diagonally into 1 inch thick slices. Arrange biscotti, cut sides down, on baking sheet and bake until crisp but still slightly soft in the center, about 8 minutes.
This biscotti was soooo good. My family ate it with coffee, milk and even ice cream!

Good luck and happy baking!
Rosie

Source: Martha Stewart Cookies

Sunday, February 12, 2012

Valentines Day Cookies and Cream Cake

Valentines Day is just two days away. I don't know about you guys, but I'm a pretty terrible Valentine. I bought Austin's gift, but I'm determined to be crafty and make him something super wonderful. I just haven't found the time. Since we live in completely different time zones, I'm afraid that there's no way he's going to get his gift on time. Sorry, babe. Just call me your very belated Valentine.

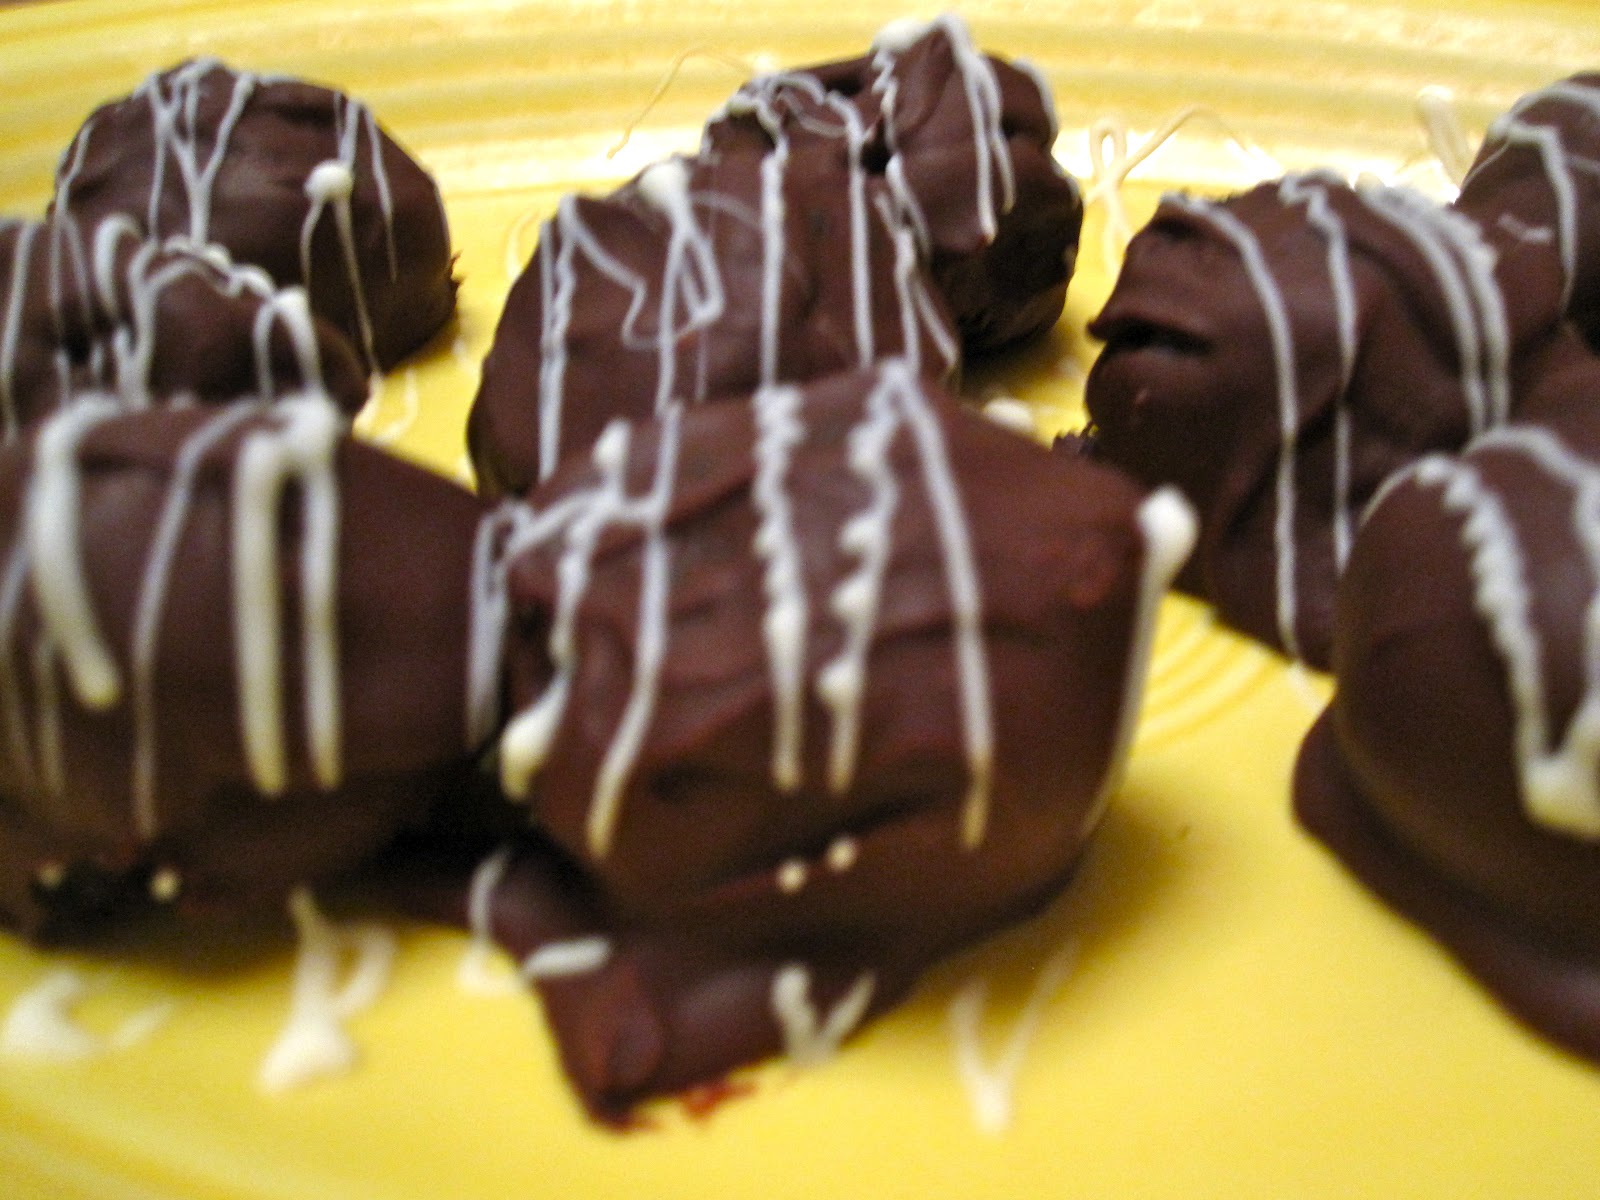
Last year, I had basically no money so I decided to bake cookies and mail them to Austin. Little did I know, I ended up baking 10 pounds of cookies. Austin forbid me to do that this year so I had to make him a sweet Valentines treat a bit early this year. I technically made this cake in January but... Let's just pretend I made it yesterday, mmkay?
This is probably the best cake ever. I'm not exaggerating. However, this has also been one of the most difficult cakes I've ever made in my life. In fact, it has taken me three attempts to get the cake to come out of the pan in one piece. On the first try I had a pile of cake pieces. Delicious, rich, moist cake pieces but cake pieces nonetheless. The secret is in the parchment paper. But more on that later.

What you need...

For the cake:
1 3/4 cup flour
2/3 cup Dutch process cocoa powder
1 1/2 teaspoons baking soda
1/2 teaspoon baking powder
1/2 teaspoon salt
3/4 cup (1 1/2 sticks) unsalted butter, softened
1 1/2 cups granulated sugar
1 teaspoon vanilla extract
3 large eggs at room temp
1 1/4 cup buttermilk

For the filling:
4 oz cream cheese, softened
1/2 cup (1 stick) unsalted butter, softened
1 box (16 oz) confectioners sugar
3 to 4 tablespoons milk

For the frosting:
1 1/2 cups heavy cream
1/4 cup granulated sugar
1 teaspoon vanilla extract
3 cups crushed Oreos

Preheat over to 350 degrees. Grease two 8 or 9 inch round cake pans. Line the bottoms with parchment paper. This prevents them from becoming a sticky, crumbly mess. Grease the parchment and flour both pans. Set aside. In a medium sized bowl, stir together flour, cocoa powder, baking soda, baking powder and salt until well blended. Set aside.
In a large bowl, beat butter, sugar, and vanilla on medium speed for 3 minutes or until light and fluffy. Add eggs, one at a time, beating well after each addition.
On low speed, beat the flour mixture into butter mixture in three additions, alternating with buttermilk, beginning and ending with flour mixture; beat one minute.
Divide batter evenly between the prepared pans. Bake for about 36 minutes or until toothpick inserted near center comes out clean. Cool cakes in pans for 10 minutes before removing from pans and transferring to wire racks. Cool completely. These cakes are very delicate so be very gentle with them.
Now for the filling. In a large bowl, mix cream cheese and butter on medium speed until smooth. Gradually add confectioners sugar, then milk. Beat about 2 minutes or until light and fluffy. Divide the cake layers in half horizontally by using a serrated knife. Set first layer on stand or cake ring. Spread 1/3 of filling and then top with second layer. Repeat until you top with the final cake layer, cut side down.


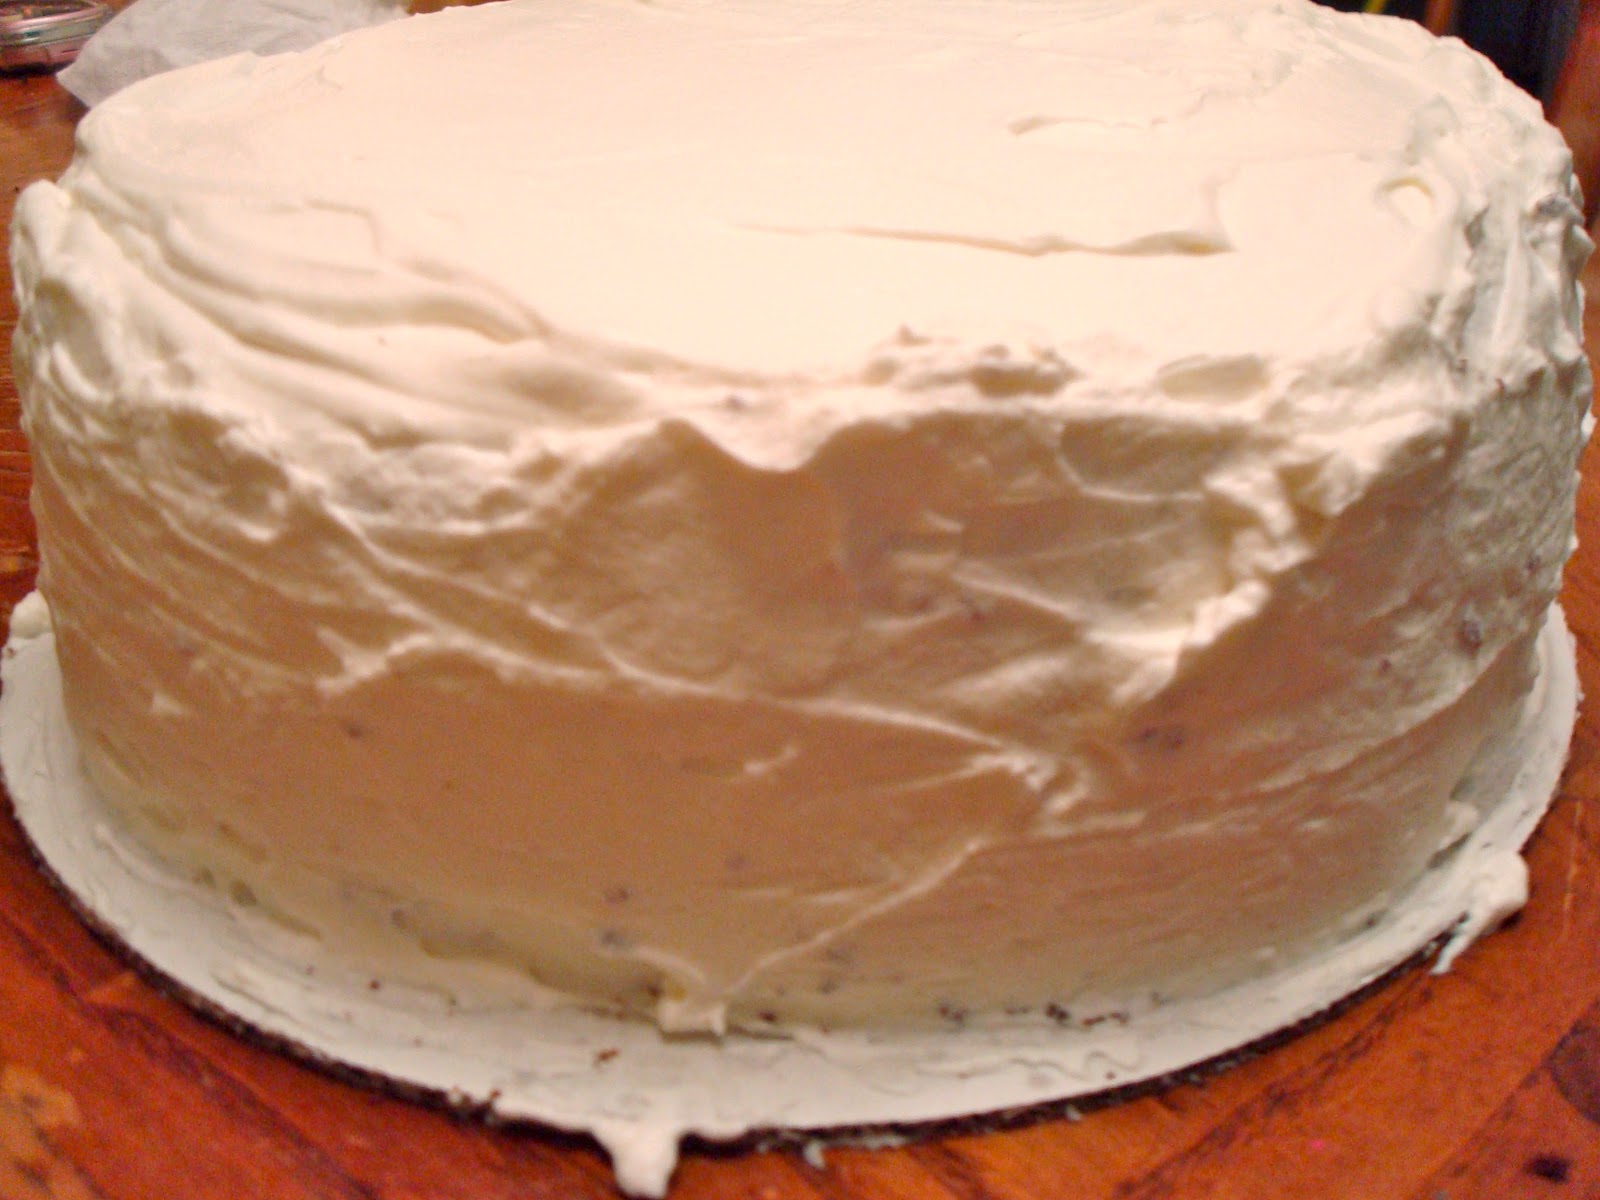
Frosting time! In a large bowl, with mixer on high, beat heavy cream, sugar and vanilla until soft peaks form. Generously spread the whip cream all over the cake. Try to avoid getting crumbs on the top. However, if some get on the sides, the oreos will cover them up. Put your crushed cookies in a bowl. With cupped hands, gently press the crumbs into the side of the cake. Brush off excess before serving. Keep refrigerated.
Voila! This cake looks like a million bucks and tastes even better. If you're trying to impress your Valentine, this is the cake to use!

Good luck and happy Valentines!

Rosie

Source: Family Circle

Sunday, February 5, 2012

Redwall Inspired Scones and Meadowcream

When I was around 8 years old, my favorite book series was the Redwall series by Brian Jacques.
There was something great about those books, something that makes me love them even today at age 20. Two summers ago, when my boyfriend and I had just begun dating, we discovered that our love for the series was mutual. One night we reminisced about how all of the descriptions of food within the books sounded simply divine and we both got it into our heads that we just HAD to have some. Out of everything described in the series, we both agreed that scones and meadowcream sounded the best. So we got creative. Our experiment was a success and now scones and meadowcream is one of my boyfriend's favorite dishes. If it was up to him, I would make them all the time.

Unfortunately, Brian Jacques died last year. Both Austin and I were heartbroken. With Jacques passing away, I think we both realized a piece of our childhood had gone with him. His books were fantastic and were part of what inspired me to pursue writing as a career. All of his characters were incredibly brave and they all taught me incredibly important lessons while growing up. I know that one day I'll read his books to my children and I hope I can inspire others to do the same.
Redwall Abbey's Scones and Meadowcream

What you need....

For the scones:
3 cups flour
1/3 cup sugar
1 teaspoon salt
2 1/2 teaspoons baking powder
1/2 teaspoon baking soda
3/4 cup (1 1/2 sticks) unsalted butter
1 cup buttermilk
1/2 cup fresh blueberries or currants or fruit of choice (optional)
1 tablespoon heavy cream for brushing

For the meadowcream:
4 oz cream cheese, softened
1 pkg (4 serving) instant vanilla pudding
1/2-3/4 cup milk
1/2 cup whipping cream
1/2 teaspoon vanilla extract

 Preheat oven to 400 degrees. Combine flour, sugar, salt, baking powder and baking soda in a large bowl.
Add butter and mix with fingertips to a course meal. Add buttermilk and mix until just combined. Add your fruit. This recipe is highly adaptable so I encourage you to experiment. I've tried adding nuts and different extracts and they've always been delicious. Tried cranberries and walnuts. Or dried cherries and almond extract. Get creative!
Transfer dough to a floured surface and divide into two parts. Roll each into 3/4 inch thick rounds. Cut each round into 8 wedges and place slightly separated onto a greased baking sheet.
 Brush tops with whipping cream. Bake for 15 minutes or until lightly browned.
Oh man, those look good enough on their own! And they are really. Just use a bit of butter or jam and you're set. Or, if you're looking for something really delicious, you might want to pay attention to the next part...

In a medium mixing bowl, cream together the cream cheese, pudding mix and milk until smooth and light yellow. Mixture should be thick and sticky, but still thin enough that it can be stirred. Add more milk if needed.
In separate bowl, whip the cream until stiff peaks form. Be careful not to overbeat. Fold whipped cream and vanilla into pudding mix. Serve and enjoy!
Oh my... How delicious does that look? A fair warning, a little bit of meadowcream goes a long way. That does not mean, however, that you'll be able to stop yourself from eating a whole bowl of it. This stuff is addictive.


Good luck and happy baking!
Rosie

Source: Scones- Food Network
Meadowcream- the team effort of Austin and I