Sunday, October 30, 2011

Popcorn Balls Just in Time for Halloween

When I used to trick-or-treat as a child, there was always this one lady from my church who handed out popcorn balls. I thought they were the neatest things. While most people handed out commercial candies or fruit, this woman went out of her way to make delicious popcorn balls for everyone who came by.


Have you picked up candy for the trick-or-treaters yet? If not, consider giving this simple popcorn ball recipe a try. But be careful, you might end up getting kids coming back for seconds!
 What you need:
3/4 cup light corn syrup
1/4 cup margarine
2 teaspoons cold water
2 5/8 cup confectioners sugar
1 cup marshmallows
5 quarts popped popcorn
Begin by preparing your popcorn. I suggest making fresh popcorn on the stove rather than air popped or microwaved. It tends to be tougher when made on the stove and works better for popcorn balls. Instructions for popping can be found on the bag of popcorn kernels.
In a saucepan over medium heat, combine the corn syrup, margarine, water, sugar and marshmallows. Heat and stir until the mixture comes to a boil.
Carefully combine mixture with popcorn, making sure to coat each piece. Grease hands with shortening and begin forming popcorn into balls.
You need to work fast so you might want to ask for help! Here's my lovely boyfriend pitching in to help with the cause.
When cool, wrap the balls in cellophane or plastic wrap. For treats, I suggest putting them in cute little treat bags and tying it with ribbon. Store at room temperature.

Ta-da! All done! These are really tasty and are much simpler than most popcorn ball recipes I've seen.

Good luck and have a bewitching Halloween!
Rosie

Source: Allrecipes.com

Tuesday, October 25, 2011

Candy Corn Chocolate Cakes

I have yet to buy my Halloween costume. Gasp! I know! Halloween is a mere six days away and I have yet to pick my gown for the grand galloping gala of Halloween night. I can't help it...Whenever Halloween approaches, I begin waffling and can't decide what I want to be. Do I want to be Little Red? Maybe a princess of sort? Perhaps something scary! It's too hard!

I had finally decided on something until I saw the weather forecast for the next week. It's supposed to snow on Thursday and Halloween night is going to climb to a sweltering 50 degrees. A viking it is in then.

You know what I have no problem deciding on?
That these little cakes are adorable!

Just in time for Halloween, here are some cute little chocolate cakes decorated to look like candy corn. I was really surprised when I made these-- the recipe for the chocolate cake is fantastic and I wouldn't mind making a simple layered cake out of it some time.

What you need for the cake:
2 cups sugar
2 cups flour
1 cup cocoa
1 cup oil
1 teaspoon salt
2 large eggs
1 cup buttermilk
1 cup hot water
2 teaspoons baking soda
2 teaspoons vanilla extract
Preheat oven to 350 degrees. Beat the first six ingredients in a large bowl at medium speed with an electric mixer until well blended. Stir in buttermilk.
Stir together 1 cup hot water and baking soda: stir into batter. Stir in vanilla and pour into two greased and floured 9 inch cake pans.
Bake for 30 to 40 minutes or until a wooden pick inserted in center comes out clean. Cool in pans on wire racks 10 minutes; remove from pans and cool completely on wire racks.
Freeze layers for 30 minutes. Cut each layer into eight wedges. Now it's time to make the frosting!
What you need for the frosting:
1 cup butter, softened
1 (2lb) package powdered sugar
1 teaspoon vanilla extract
Orange gel icing color (I used Wilton Orange)
Yellow gel icing color (I used Wilton Lemon Yellow)
Beat butter at medium speed with an electric mixer until fluffy; gradually add powdered sugar, beating until mixture is light and fluffy.
Add milk, beating until spreading consistency. Stir in vanilla. Stir orange food coloring into 1 1/2 cups frosting. Stir yellow into 1 1/4 cups frosting.
Pipe buttercream to resemble candy corn. Using a medium star tip, pipe white on small end, yellow in the middle and orange on the wide end. If your frosting is stiff enough (mine was not) you can also frost the sides.
Pretty cute, huh? I think these would be simply darling for a kid's October birthday party. Or, if you're like me, you can make them just because!
Good luck!
Rosie

Source: Southern Living Annual Recipes 2000

Saturday, October 22, 2011

Incredibly Easy Tombstone Brownies

Midterms are over! Huzzah! That means I can get back to baking and procrastinating.

Halloween is fast approaching and I don't know about you guys, but I love decorating treats for the season. I think I probably inherited that from my mom because when I was young, she made tons of cute Halloween treats for my class. One of those treats were tombstone brownies.
I promise you, this will be one of the easiest things you can make. They're adorable and great for parties.
What you need:
1 brownie mix and ingredients required for it
1 jar chocolate frosting
Approximately a cup of coconut
Green liquid food coloring
1 chocolate bar
White decorating icing
Candy corn, preferably pumpkins

Prepare brownies according to instructions. Line baking pan with foil for easy removal. Once cool, cut into rectangles. Frost. Break chocolate up along lines and use white icing to write "RIP". I found that using a toothpick was easiest. Stick into the corner of the brownie.
Put coconut in a ziploc bag. Use 1 to 2 drops of food coloring and shake the bag until the coconut is well covered. If it needs to be darker, add another drop or two. If it needs to be lighter, add more coconut. Place a pinch of colored coconut next to the chocolate tombstone. Put a piece of candy corn on the coconut.


You're done! What did I say? These are super quick to make. I would have preferred to use pumpkins but SOMEBODY ate all of them before I made these. I won't name names.
Good luck!
Rosie

Source: Lovingly oversimplified from Holiday Food Fun.

Wednesday, October 12, 2011

Halloween Ginger Creams and a Mini Announcement

All the cool kids are doing it-- halloween recipes, that is.

I'm pretty sure I've mentioned at some point that Halloween is like, my favorite holiday of all time. I love dressing up, eating handing out candy and decorating my surroundings to look ghoulish and fun. So for the rest of October, I'll be trying several different holiday recipes.

The first I attempted were these Halloween Ginger Creams.


I have to make a confession though... I cheated on the frosting. The recipe calls for Seven Minute Frosting and, well, to be honest I'm TERRIBLE at making Seven Minute Frosting. I always overdo it and it turns into a sticky, taffy mess. So I decided to make cream cheese frosting. Not the best idea...
Ingredients
1 cup sugar
1 cup shortening
1 cup molasses
1 cup sour cream
1 egg, slightly beaten
2 egg yolks, slightly beaten
3 cups sifted flour
1 teaspoon cinnamon
1 teaspoon ginger
1 teaspoon baking soda
Salt, to taste
Frosting (preferably seven minute)
Candy Corn

Cream the sugar and shortening.
 Add molasses, sour cream, egg and egg yolks.
Mix dry ingredients; add to molasses mixture.
Spread dough about 1/4 inch deep on greased and floured cookie sheet with an edge. Bake at 375 degrees for 10 to 12 minutes. Cool.
Without removing from pan, frost with a pale orange frosting.
Mark into squares; center each square with a candy. Bam, you're done!
I have to say, these were some of the strangest bars I've ever had. Something about these bars were just... odd. Perhaps it was the fact that I used cream cheese frosting. Or maybe it was that the molasses smelled so bad that I was forever turned off of the bars by the time I finished them. I'm not really sure, but I hope you give these a try and tell me your results.

Good luck,
Rosie

Announcement: I just wanted to let you know that there probably won't be a post next week. I have midterms next week and I REALLY need to study. However, as soon as they're over, I'll be back with a new recipe!

Source: Favorite Eastern Star Recipes Holiday Cookbook 1970

Thursday, October 6, 2011

Grandma Rose's Old Fashioned Chocolate Cake

I'm a redhead now, which means I feel obligated to claim fictional Irish heritage. One part of this completely untruthful (as far as I know, at least) background that I will claim in a heartbeat will be a love for all thing potato. Take a potato, dress it up anyway you can, and I guarantee I'll like it.

However, I never for a second imagined putting mashed potatoes in a cake.

Yes boys and girls, we're making a chocolate cake with mashed potatoes in it. So, let's get to it then.
For the cake you will need:
4 eggs, separated
2 cups sugar
1 cup sweet butter
4 oz unsweetened chocolate, melted
1 cup mashed potatoes
2 cups all purpose flour
1/2 teaspoon salt
2 teaspoons baking powder
2/3 cup sour cream
1/2 teaspoon baking soda
1 cup chopped pecans
Preheat oven to 350 degrees. Grease and flour one 9 inch tube pan or two 9 inch layer cake pans. I chose to do a tube. Beat the egg whites until stiff.
Gradually add 1/2 cup sugar, 1 tablespoon at a time, and beat until set. Set aside.
Cream butter with remaining sugar until fluffy, and add egg yolks, cooled chocolate, and mashed potato.
Sift flour with salt and baking powder. Add to batter.
Mix sour cream with baking soda and vanilla. Add to batter with the pecans and then, lastly fold in the whites.
Spread into the pan. For a tube pan, bake for about 50 minutes. For layer pans, bake about 35 minutes. My cake was not quite done at 50 minutes, and I never could seem to get it done. When I finally was satisfied, I ended up drying it out. Be careful and really keep an eye on it so this doesn't happen to you.
Set on a wire rack and leave in pan until cooled completely. When cooled, remove from pan and frost.
What you'll need for the frosting:
3 oz unsweetened chocolate
3/4 cup heavy cream
1/4 cup water
1 cup sugar
1 tablespoon light corn syrup
1 egg, slightly beaten
1 tablespoon vanilla
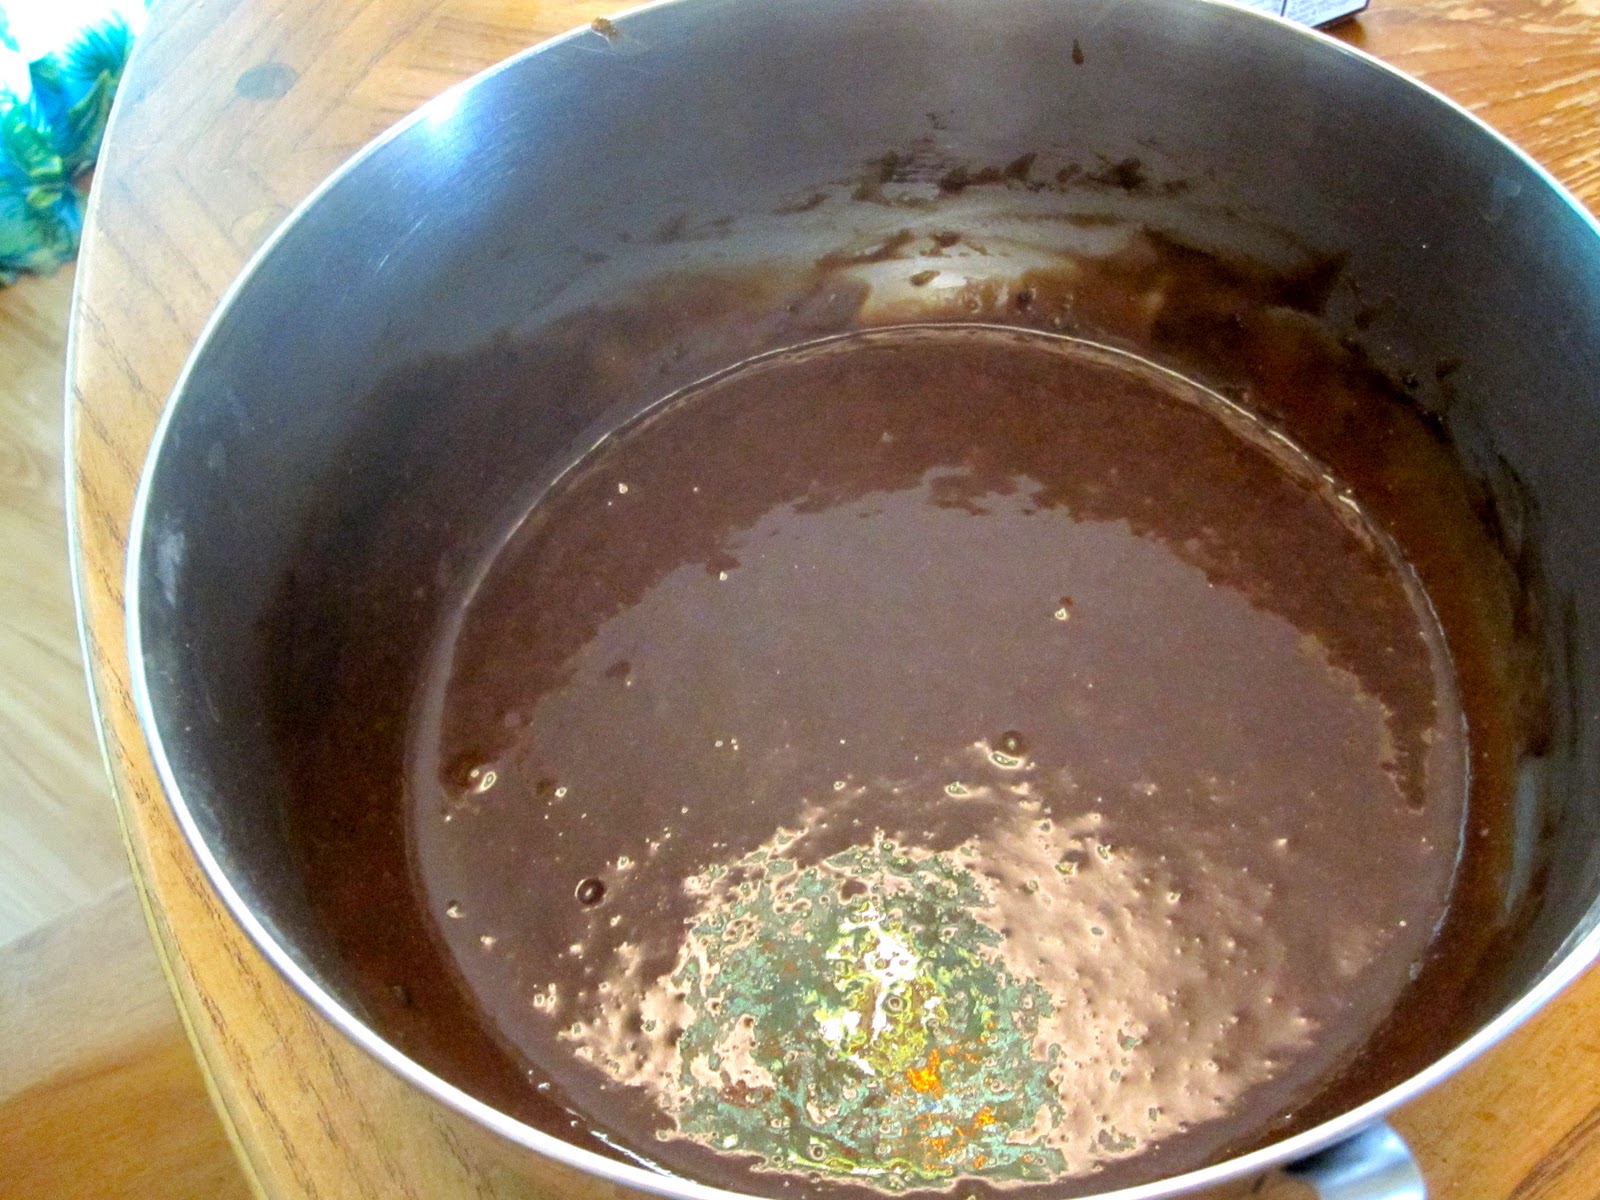
 Combine chocolate, cream, water, and corny syrup. Stir over low heat until chocolate is melted and sugar is dissolved. Raise heat a little and cook without stirring for about 10 minutes or until mixture is thick enough so that a bit dropped into a cup of cold water forms a soft ball.
 Stir 2 or 3 tablespoons hot chocolate into beaten egg. Pour egg mixture back into remaining chocolate mixture, stirring briskly. Add vanilla. Cook, stirring constantly, over low heat a few more minutes until a little thicker. Let cool and frost the cake.
I was really excited about this cake with it's strange ingredient of mashed potatoes and, well, it wasn't that special. The cake itself was a bit bland and the frosting was gritty (my fault for obviously not letting the sugar dissolve well enough) and a little too bitter for the plain taste of the cake.

Give it a try if you'd like. Good luck!
Rosie

Saturday, October 1, 2011

Chocolate Dump Cake

Happy October everyone! Pretty soon, it will be time to make all sorts of spooky goodies. I absolutely can not wait. October is my absolute favorite month of the year and, if it was up to me, Halloween would occur at least ten times a year.

It's been a really busy week here at school. I'm a writing major which means that I have to periodically turn in short stories for review in my creative writing class. I turned my first story of the semester in on Wednesday and, as always, I was a stressed and anxious mess by the time class arrived.

Crafting a story like that takes a lot of time, work and gonads. It's always terrifying to hand in something you lovingly created knowing that week later it could very well be torn to shreds by the class.

So after a stressful week like this, what does a college girl need? Chocolate. Lots of chocolate.
The best recipe for a college student is an easy and cheap recipe. This one totally fits the bill. I found it in one of my many google archeological digs and I must say, it will definitely become a dorm staple.

Ingredients
1 box of chocolate cake mix (I used Betty Crocker's chocolate fudge)
1 small package of instant chocolate pudding
1 1/2 cups milk
1 1/2 cups semi-sweet chocolate chips

That's all...Seriously!
Preheat your oven to 350 degrees. Prepare the pudding with the milk, according to package directions. 
Add the cake mix and stir until well combined. This is another super thick batter so be prepared for some sculpted biceps by the time you get done.
Oh yeah, look at that thick chocolatey goodness!
Spread batter into a greased 13x9 baking pan. Sprinkle with the chocolate chips and bake for 30 minutes or until the edges pull away from the side.
This cake is sooooo delicious. It's not particularly rich, but I highly suggest pairing it warm with a cold scoop of vanilla ice cream on top. There's nothing like cake and ice cream to cheer up a stressed out college student.

Good luck,
Rosie