Showing posts with label misc. Show all posts

Sunday, April 22, 2012

Ricotta and Chocolate-Hazelnut Calzones... Meh?

In our third installment of Nutella adventure month, I decided to make something cool. Something unexpected. And you know what? I was pretty unimpressed. I tried making these Ricotta and Chocolate-Hazelnut calzones that I saw on the Food Network's website. They had some iffy reviews but I decided, "What the heck? Couldn't hurt to try."

What you need
3/4 cup whole milk ricotta cheese
1/4 cup marscapone cheese
1 large egg yolk
2 tablespoons powdered sugar, plus more for dusting
8 oz frozen strawberries, thawed
2 tablespoons sugar
2/3 cup Nutella
3 tablespoons whipping cream, room temperature
6 (2 oz) pieces pizza dough, cold
1 large egg, beaten to blend

Blend the ricotta, marscapone, egg yolk, and powdered sugar in a food processor (or blender) until smooth and creamy.
Transfer the ricotta mixture to a small bowl. Cover and refrigerate for 30 minutes.
Meanwhile, blend the strawberries and 1 tablespoon of sugar in a clean food processor until smooth. Transfer the strawberry sauce to a small bowl and set aside.
Whisk the Nutella and the cream in a medium bowl to blend. Position the oven rack in the center of the oven and preheat to 450 degrees. Line baking sheet with parchment paper Roll each piece of dough into a 7 inch round. Spoon the ricotta atop the center of the lower half of each round. Spoon Nutella atop ricotta. Brush lower edges of dough with egg wash. Fold plain dough halves over filling and form half circles. Pinch edges together. Trim excess dough and transfer calzones to prepared baking sheet.
Brush tops of calzones with egg wash. Bake until the calzones puff out and become golden brown, about 10 minutes. Transfer to a rack to cool for 15 minutes. Transfer to plates, dust with powdered sugar. Drizzle strawberry sauce around the calzones and serve.
As you can see, I had no problem finishing the calzone. However, I just didn't find it to be all that special. The filling burst out of the calzones during baking and I really didn't find the flavor to be all that exciting. Overall, they were good, but it's not something I can see myself going out of my way to make again.

Good luck and happy baking!
Rosie

Source: Food Network

Sunday, March 4, 2012

Four Layer Pudding Delight

I'm late, I know. But let me explain myself. Last night I finished Mockingjay, the last book in the Hunger Games trilogy.  And by last night I mean 6 o'clock this morning. After closing the book, I was complete emotional wreck. It's true. The books have that affect on me. So after sleeping in until 12:30, here I am slightly groggy and ready to talk pudding.

Four layer chocolate delight is a pretty common dessert around here. It's simple to make and produces a large amount of servings so it's great for holidays, picnics etc. However, when my mom decided to make it for a church luncheon on day, she experimented and made it with lemon. It was, in a word, AMAZING. Since then, I've been itching to experiments with different flavors. So far, everything has come out delicious making this one of the most highly adaptable recipes I've ever seen.
What you need...

For the crust:
1 stick butter, melted
1 cup plain four
1 cup chopped nuts

For the first layer:
1 8oz package cream cheese, softened
1 cup cool whip
1 cup powdered sugar

For the second layer:
1 large package pudding, flavor of choice
3 1/2 cups milk

 To prepare your crust, mix the butter, flour and nuts together and spread in the bottom of a 13x9 glass pan. Bake at 375 degrees for 15 minutes or until a little brown. Let cool completely.
For the first layer, cream together the sugar and cream cheese. Gently mix in the cool whip. Spread onto the baked crust.
Prepare your pudding. For this batch I used banana and it was oh so good. I prefer cook and serve as it comes out smoother with a stronger flavor. Just make sure to reduce the milk. Be careful when letting it cool- cover it with cling wrap and remove any film that may form. Spread over cream cheese layer. Top with remaining cool whip and refrigerate until ready to serve.

My family and I can't get enough of this stuff. I think banana has been my favorite so far, but I still want to try using coconut or butterscotch. This is particularly easy and is great if you need something to make for an event.

Happy baking and may the odds be ever in your favor ;)
Rosie

Source: Mother Dearest

Sunday, February 5, 2012

Redwall Inspired Scones and Meadowcream

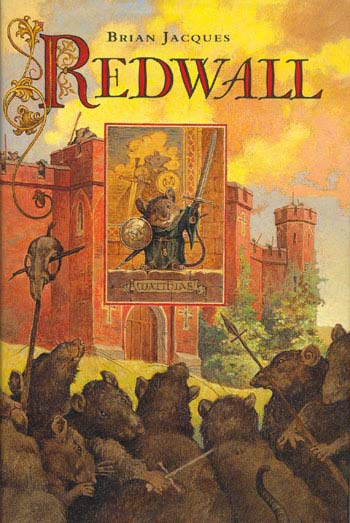
When I was around 8 years old, my favorite book series was the Redwall series by Brian Jacques.
There was something great about those books, something that makes me love them even today at age 20. Two summers ago, when my boyfriend and I had just begun dating, we discovered that our love for the series was mutual. One night we reminisced about how all of the descriptions of food within the books sounded simply divine and we both got it into our heads that we just HAD to have some. Out of everything described in the series, we both agreed that scones and meadowcream sounded the best. So we got creative. Our experiment was a success and now scones and meadowcream is one of my boyfriend's favorite dishes. If it was up to him, I would make them all the time.

Unfortunately, Brian Jacques died last year. Both Austin and I were heartbroken. With Jacques passing away, I think we both realized a piece of our childhood had gone with him. His books were fantastic and were part of what inspired me to pursue writing as a career. All of his characters were incredibly brave and they all taught me incredibly important lessons while growing up. I know that one day I'll read his books to my children and I hope I can inspire others to do the same.
Redwall Abbey's Scones and Meadowcream

What you need....

For the scones:
3 cups flour
1/3 cup sugar
1 teaspoon salt
2 1/2 teaspoons baking powder
1/2 teaspoon baking soda
3/4 cup (1 1/2 sticks) unsalted butter
1 cup buttermilk
1/2 cup fresh blueberries or currants or fruit of choice (optional)
1 tablespoon heavy cream for brushing

For the meadowcream:
4 oz cream cheese, softened
1 pkg (4 serving) instant vanilla pudding
1/2-3/4 cup milk
1/2 cup whipping cream
1/2 teaspoon vanilla extract

 Preheat oven to 400 degrees. Combine flour, sugar, salt, baking powder and baking soda in a large bowl.
Add butter and mix with fingertips to a course meal. Add buttermilk and mix until just combined. Add your fruit. This recipe is highly adaptable so I encourage you to experiment. I've tried adding nuts and different extracts and they've always been delicious. Tried cranberries and walnuts. Or dried cherries and almond extract. Get creative!
Transfer dough to a floured surface and divide into two parts. Roll each into 3/4 inch thick rounds. Cut each round into 8 wedges and place slightly separated onto a greased baking sheet.
 Brush tops with whipping cream. Bake for 15 minutes or until lightly browned.
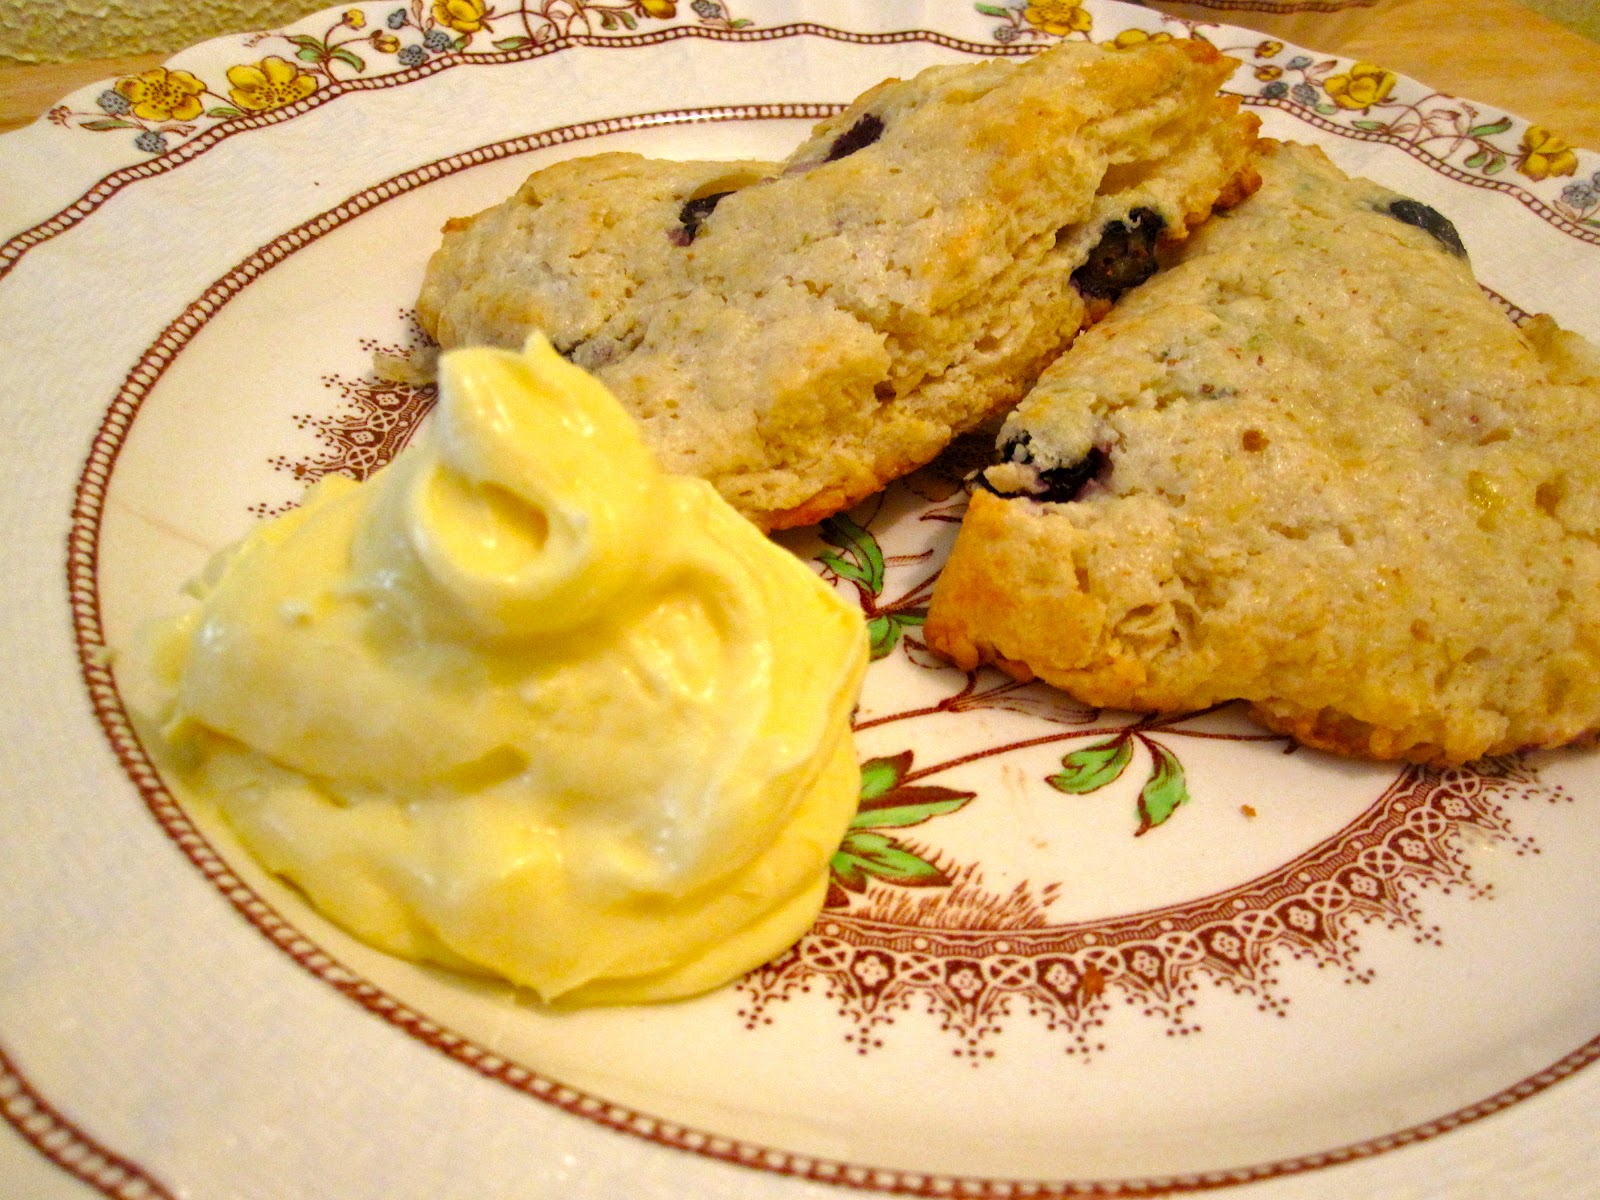
Oh man, those look good enough on their own! And they are really. Just use a bit of butter or jam and you're set. Or, if you're looking for something really delicious, you might want to pay attention to the next part...

In a medium mixing bowl, cream together the cream cheese, pudding mix and milk until smooth and light yellow. Mixture should be thick and sticky, but still thin enough that it can be stirred. Add more milk if needed.
In separate bowl, whip the cream until stiff peaks form. Be careful not to overbeat. Fold whipped cream and vanilla into pudding mix. Serve and enjoy!
Oh my... How delicious does that look? A fair warning, a little bit of meadowcream goes a long way. That does not mean, however, that you'll be able to stop yourself from eating a whole bowl of it. This stuff is addictive.


Good luck and happy baking!
Rosie

Source: Scones- Food Network
Meadowcream- the team effort of Austin and I

Monday, January 9, 2012

Butterscotch Marble Cake and a Few Changes

I hope everyone is having a great New Year! With the changing of the year, I also decided to make some changes to my blog. It's only a few minor things, but I hope to constantly improve this and to make it more interesting to the reader. These changes include:
1. No more ingredient pictures. They're kind of a waste because no one really needs them.
2. I've given up on the Grandma Rose's cookbook. Why? To be honest, I haven't really been a fan of most of the recipes I've tried. It's not really worth making them if I don't like them, right?
3. Finally, I"m going to attempt to integrate some new things through the year. I'm hoping I can wrangle some guest posts and the like.

Now on to the cake!
What you need:

1 package white cake mix
1 package 4 serving instant butterscotch pudding mix
1 cup water
1/4 cup cooking oil
4 eggs
1/2 cup chocolate flavored syrup
2 oz sweet baking chocolate, cut up
2 tablespoons butter or margarine
3/4 cup sifted powdered sugar
1 tablespoon hot water
Preheat your oven to 350 degrees. Grease and flour a 10 inch fluted tube pan. In a large mixing bowl combine cake mix, pudding mix, water, oil and eggs. Beat with an electric mixer on low speed until combined. Beat on medium speed for 2 minutes, scraping the sides often.
Transfer 1 1/2 cups of batter to another bowl; stir in chocolate flavored syrup.
Pour light batter into the pan. Spoon chocolate batter over top. Using a knife, gently cut through the batters to marble.
Bake for 55 to 60 minutes or until toothpick inserted near the center comes out clean.
Cool cake in pan for 15 minutes. Remove cake from pan and let cool completely on a wire rack.
For the icing, melt chocolate and butter over low heat, stirring frequently. Remove from heat and stir in powdered sugar and hot water. If needed, stir in additional hot water to get to a drizzling consistency.
Yum yum! I simple adore semi-homemade recipes. They're quick and easy and, best of all, delicious! This cake is nice, fluffy treat and is simply splendid with a cup of milk. I hope you enjoy it.

Good luck and happy baking!
Rosie

Source: Better Homes and Gardens

Saturday, December 17, 2011

Chocolate Praline Toffee Crisps and a Question

I've been trying to think of a way in which I could spice up this blog a little bit. (Spice up? Get it? XD) Having a baking blog is great and all, but there's a lot of baking blogs out there and I would love to find a way to offer you guys something unique and creative while still being helpful and interesting. If I could think of a way to integrate some of my other interests into this blog, that would be fabulous. Unfortunately, my hobbies are not exactly supportive of this plan. I love video games and actually have several video game inspired recipes I've been planning out, but I couldn't really make this blog center on that as there are already some great blogs with the same concept. My other interests include movies, fashion, make-up and reading but... Well, I just have no idea what to do with that. So if you have any suggestions on things you would like to see, I would be eternally grateful to know. Feel free to comment or shoot me a message!

But for now, onto the recipe! Today, in the search of more gift friendly treats, we're making chocolate praline toffee crisps. I'm warning you ahead of time; this recipe may be a bit wonky because it's from a Pampered Chef cookbook which means it was written for specific PC utensils and was a bit difficult to translate to what things I already had.
What you need:

12 whole graham crackers
1 cup packed brown sugar
1 cup butter (do not substitute with margarine)
1 teaspoon vanilla
2 1/2 cups coarsely chopped pecans
1/4 cup semisweet chocolate chips
1/4 cup white chocolate chips
Preheat oven to 350 degrees. Arrange crackers in a single layer in a rimmed cookie sheet. I didn't have the particular PC brand sheet so the closest thing I had was too big. This proved to work fine though. Just make sure you can fit the crackers.
Combine brown sugar, butter and vanilla in a medium saucepan. Bring to a boil over medium heat, stirring occasionally with a whisk. Boil sugar mixture 4 minutes, stirring constantly.
Remove from heat and stir in pecans.
Immediately pour sugar mixture over crackers and spread evenly.
Bake 10 to 14 minutes or until sugar mixture is bubbly and pecans are lightly toasted. Remove pan from oven to cooling rack. Cool completely.
In a small bowl, microwave semi-sweet chocolate chips on high 30 to 60 seconds or until smooth, stirring after each 20 second interval.
Place ziploc bag into a cup, tucking the excess over the rim. Pour chocolate into bag. Twist top of bag, secure with clip.
Trim corner to allow chocolate to through; drizzle over crisps. Repeat with white chocolate.
Let stand until the chocolate is firm. Cut into 24 squares and, if desired, cut the squares diagonally to form triangles. Store in an airtight container.
Though the finished product looked pretty enough, I wasn't crazy about the taste. I had several issues with this recipe. The graham crackers really didn't work out. They were too tough to cut through and they crumbled apart when I tried to cut the bars into triangles. I thought the topping was far too dry. I expected them to be a bit sticky like the filling in a pecan pie and was incredibly disappointed when that was not the case.

If you decide to try these, I highly suggest just making a crust and either not baking the bars at all or only baking them for a few minutes.

Good luck and happy baking!
Rosie

Source: Pampered Chef Festive Holiday Desserts

Wednesday, November 23, 2011

In Which I Discuss Zelda and Grandma Rose's Sad Pumpkin Cheesecake

I did it guys. I was able to put down the wii remote and leave the room long enough to make a new post. Actually, I haven't had the opportunity to play the game as much as I wish. It turns out that I actually have responsibilities while home. Gross.

I'm about to wax poetic about Zelda. Feel free to skip to actual the baking if you're not interested. I won't be offended.

Anyway, if there's one thing I can say about the game, it's absolutely beautiful. When I hear people criticize the Zelda games for not utilizing the hyper realistic graphics found in most games today I get so angry. There is just something so fantastical and over the top about the Zelda games that realistic graphics would simply can't capture it. I love the dark stylization of Twilight Princess but Skyward Sword really found something beautiful for itself. For the first time, the characters seem real and tangible. Players really get a sense of the proportional difference between characters when they're looking up at Groose and his friends for the first time. There's great humor in the dialogue and game play is invigorating. Like I said, I haven't gotten as far as I would have liked, but so far this game has really blown me away.

But now to the actual point of the blog. Cheesecake. PUMPKIN cheesecake.

What you need:

For the crust
3/4 cup graham cracker crumbs
3 tablespoons melted sweet butter
1 teaspoon cinnamon
2 tablespoons brown sugar

For the filling:
2 lbs cream cheese, softened
1 1/2 cups plus 2 tablespoons sugar
5 whole eggs
1/4 cup all purpose flour
1 1 lb can of pumpkin puree
2 teaspoons pumpkin pie spice
2 tablespoons rum
1 cup heavy cream, whipped
Preheat oven to 350. Thoroughly grease a 9 inch springform pan. Combine all crust ingredients and line the bottom and sides of the pan.
Cream the cream cheese until fluffy. Gradually add 1 1/2 cups sugar and the eggs, one at a time, beating after each addition.
Gradually add flour, mixed with spice, and pumpkin. Add rum.
Pour into the crust. Now this is where things need to be modified. The recipe calls for the cheesecake to be baked for 1 hour and 45 minutes. However, I checked the cake 20 minutes before it was time and it was already overcooked. I would suggest checking this at an hour and judging the remaining baking time from there. You'll know it's done when the center is firm to the touch.
My sad burnt cheesecake. I had to trim off the really heinous parts.
 When the cheesecake is completely cool, you can make the whipped topping. Whip the cream, sweetening with 2 tablespoons sugar and 1 teaspoon rum if you would like. Pipe with a star-tipped pastry bag. Sprinkle with toasted chopped almonds or pecans.
Despite being overbaked, this cheesecake was still pretty tasty. I'm sure that if it had been baked for the right amount of time, it would have been heavenly.
As it was, the filling was not quite as creamy as I would have preferred. However, the taste was good and the cheesecake as a whole was wonderfully rich.

Good luck and have a happy Thanksgiving!
Rosie

Source: Grandma Rose's...